Chopper's Foot Drive Assembly


Drive Final Assembly
Now that the structural assembly is finished we'll integrate the mechanical parts to create a finished drive.


Below:  We've already mounted the P60 Gearbox/Motor assembly in order to verify  the shell assembly would fit,
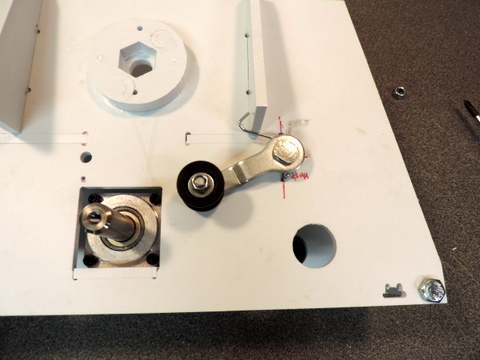
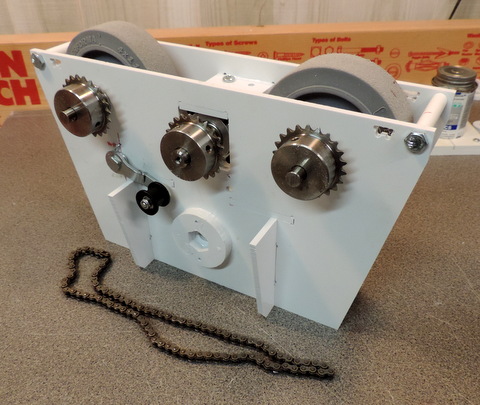
Right: these are the remaining parts that need to be installed to complete the drive. I've disassembled the chain tensioner in order to assemble it. It's got to go in first. The Wheels will block access to the internal mounting nut.
Left:  Install the tensioner spring, tensioner arm and the Mounting Shaft/Bolt. Note the flats on the shaft.
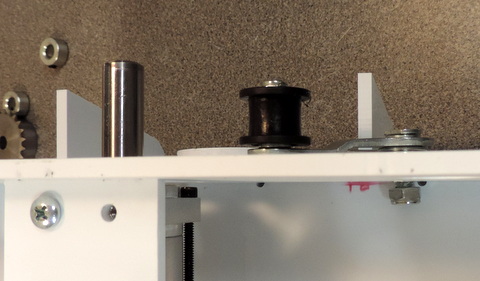
Above: from the inside install the nylon insert lock nut supplied with the tensioner & tighten.
Left & Below:  Carefully push the tensioner spring until it's below the arm and engages the arm. Spring tension will keep it in place.
Below: If the mounting holes for the bearings are too small use a piece of sandpaper rolled up to gradually enlarge them. Then install two flange bearings - flanges on the outside.
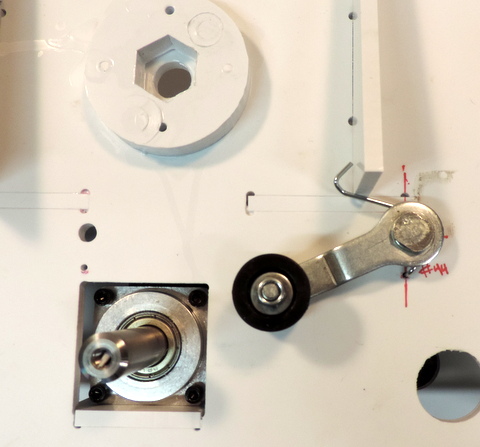
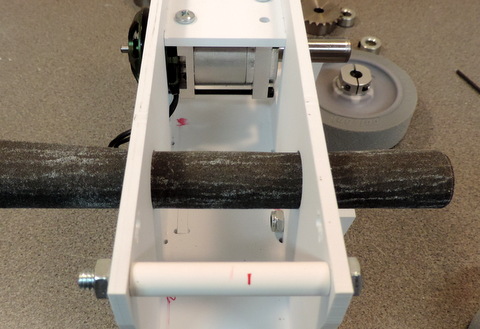
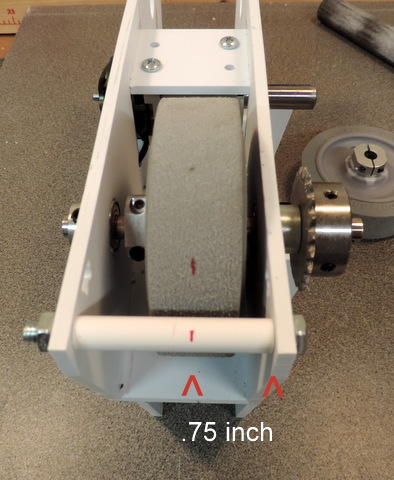
Right: thread the components (L to R: shaft, shaft collar, wheel, shaft collar, sprocket) onto the shaft. Make alignment marks as shown. It's easier if you line up all the set screws as you are putting the parts together.
Left: the sprockets should be .5 inch from the surface of the drive.
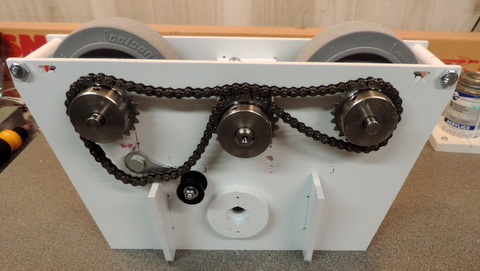
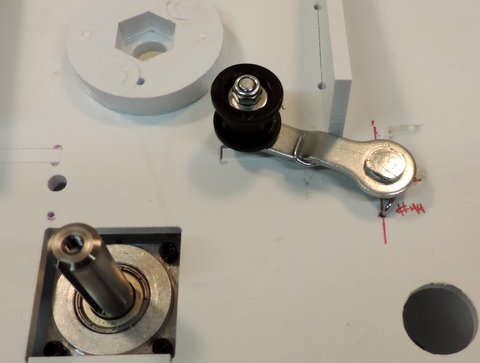
Above: Drape the chain over the sprockets. Then raise the tensioner and slip the chain over it.

This design is copyright Media-Conversions LLC and is made available for non-commercial use only.

Chopper Home Page