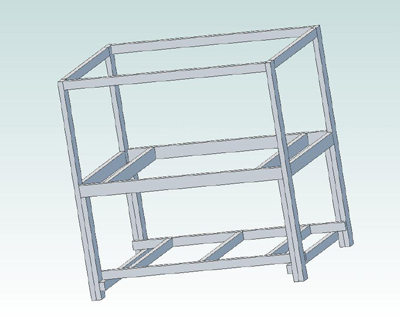
You can also access a 3D PDF model that you can then rotate in 3 dimensions!
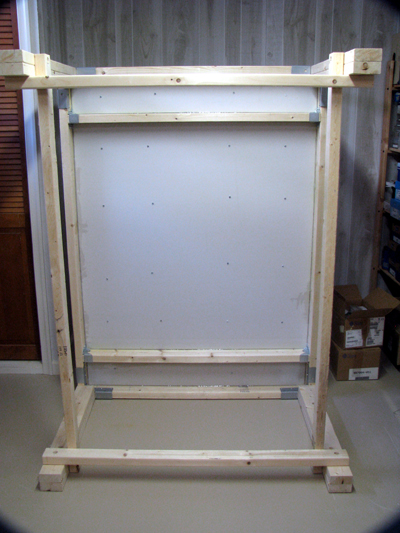
If I have to enclose my router then the upper frame will be used to hold MDF panels with sheetrock layered on the inside (see details below). In the meantime the uprights provide a convenient way to keep the stepper motor and router power cables out of the way.
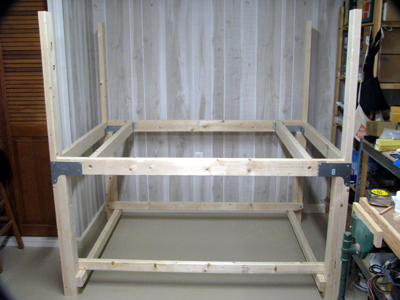
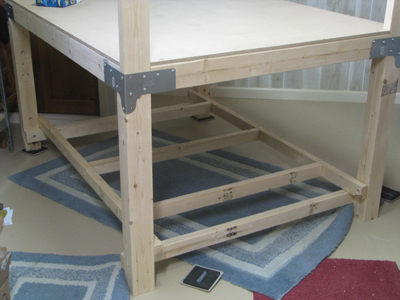
Table framing uses Strong-Tie RTC24 corner brackets for the corners and Strong-Tie joist hangers for the cross braces that go where the router legs are.
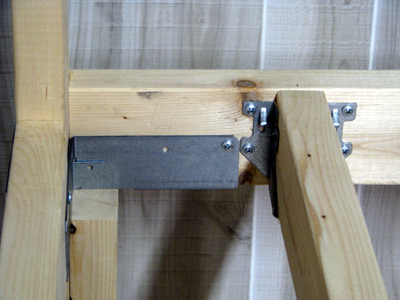
Cross brace is placed to be under the routers feet
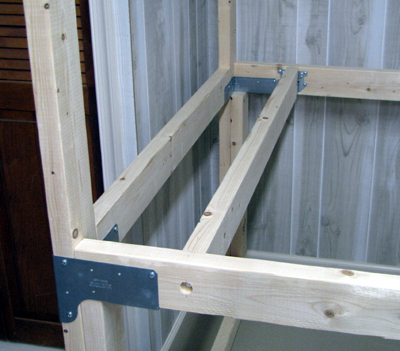
Cross brace is supported by both joist hanger and lag bolt
Right: Double 2x4 legs are glued and bolted together
2x3 spreaders are bolted to legs.
My bolts are recessed. They were too short but what I had available.
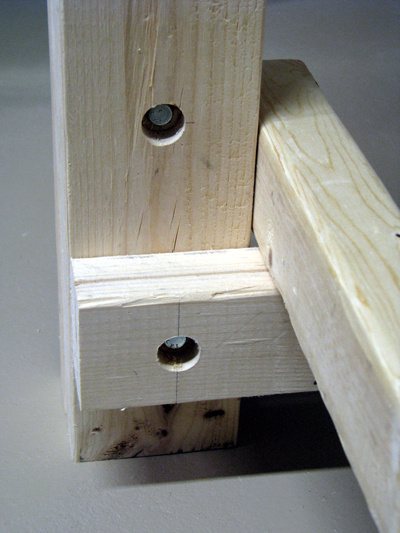

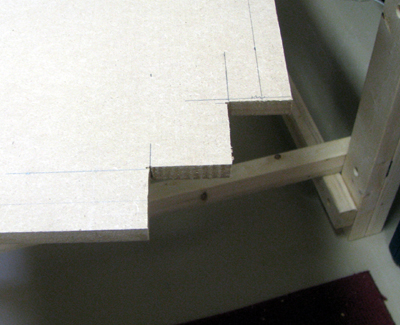
Table top with corner cutouts.
Right: There's an old quote "measure twice, cut once".
I did, really I did! Only problem, the measurement was
going in the wrong direction!
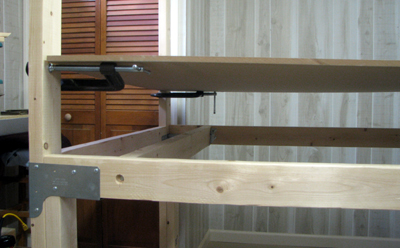
Working alone I had to improvise.
I needed to hold the table top in position while applied glue to
the top edges of the 2x4's. The solution was to put in place
before the glue was applied and then lower it into position.
Right: A layer of 1/2 inch sheetrock was screwed to the underside
of the table top to provide sound insulation if I ever enclose the
top. Doing this now would be far easier than working upside
down later on.
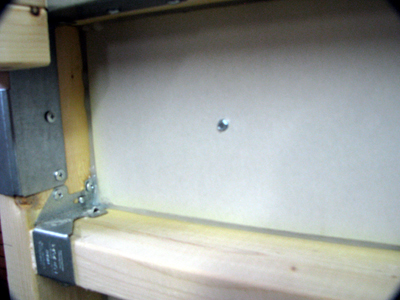
The sheetrock was caulked around the edges for soundproofing
Once the sheetrock work was done the shelf supports were installed.
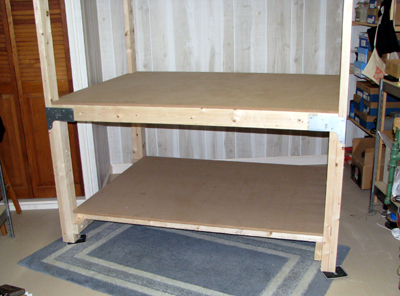
Finished (for now) table.
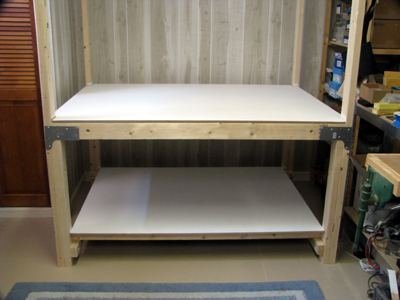
Top and shelf were primed and painted.