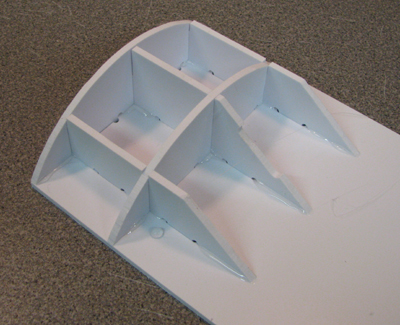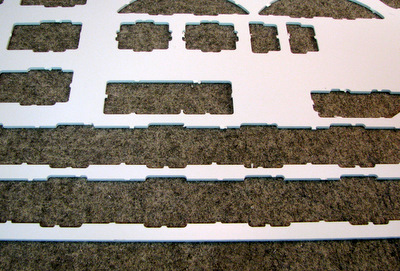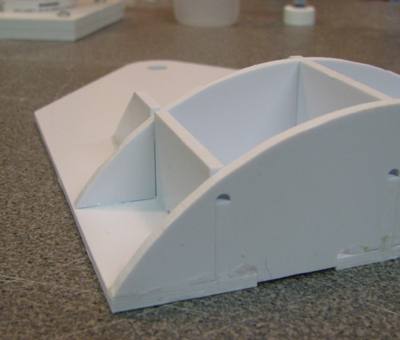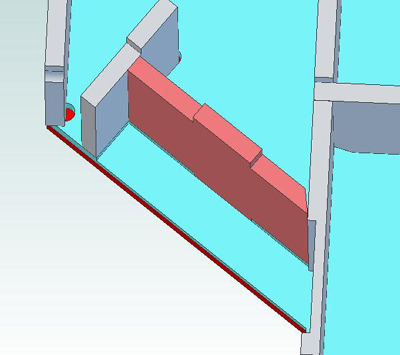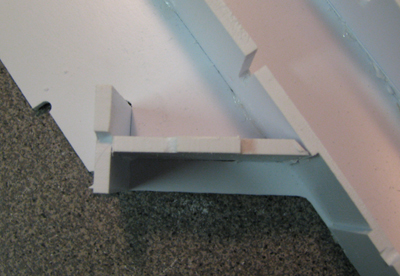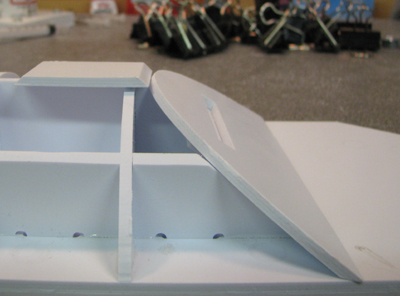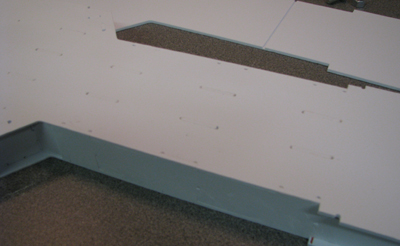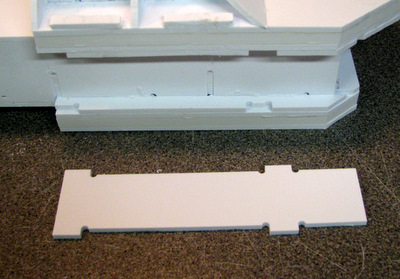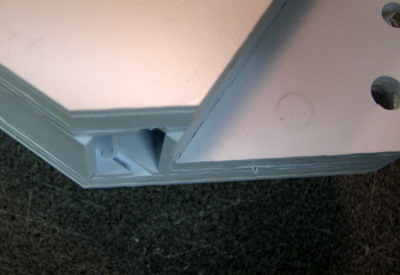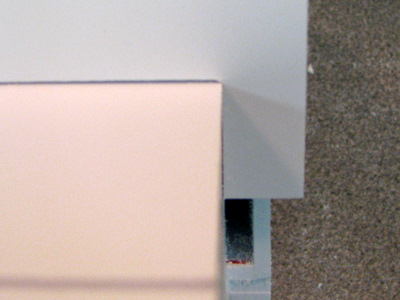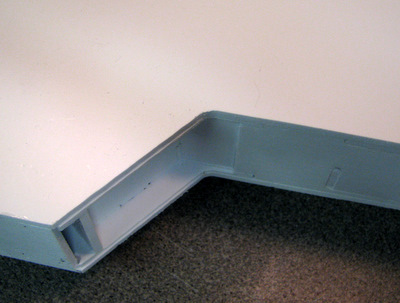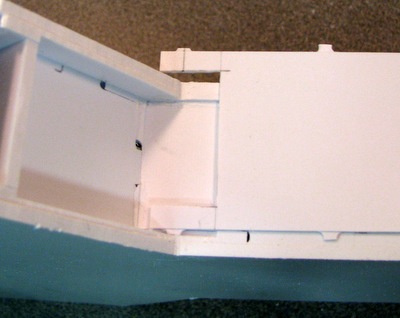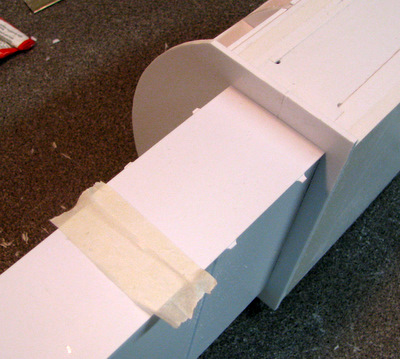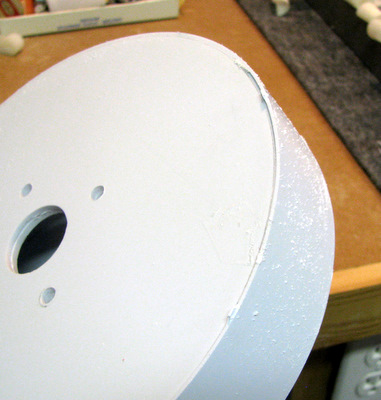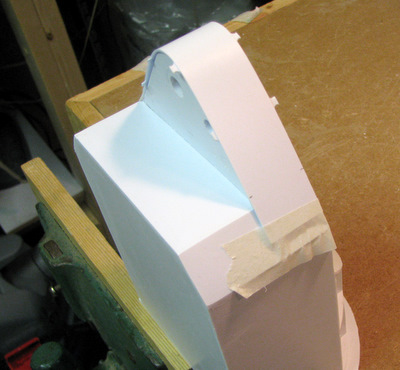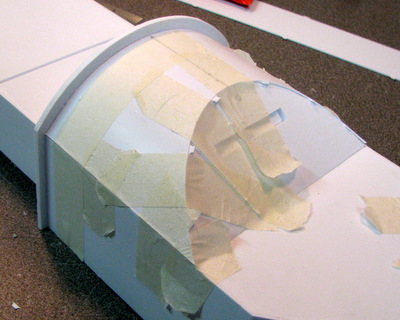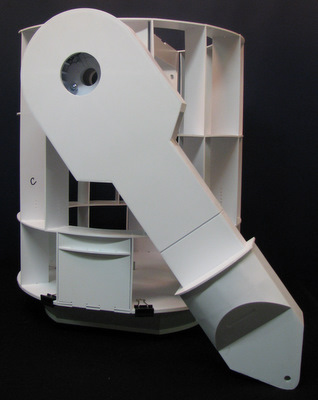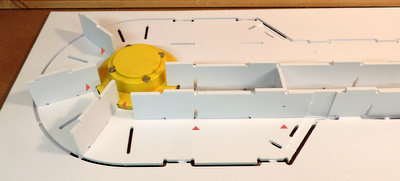
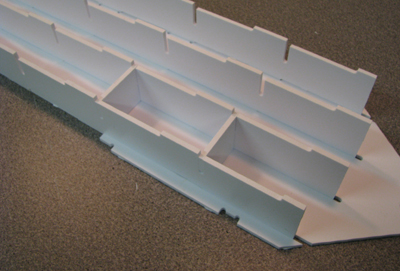
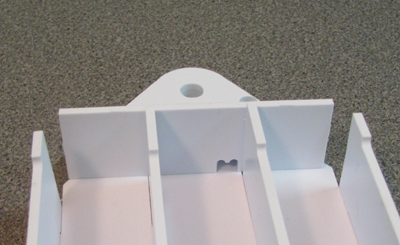
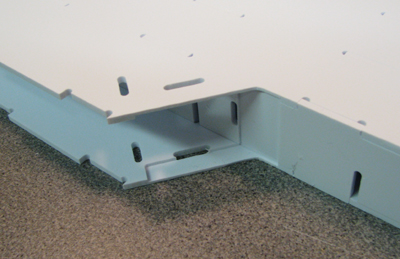
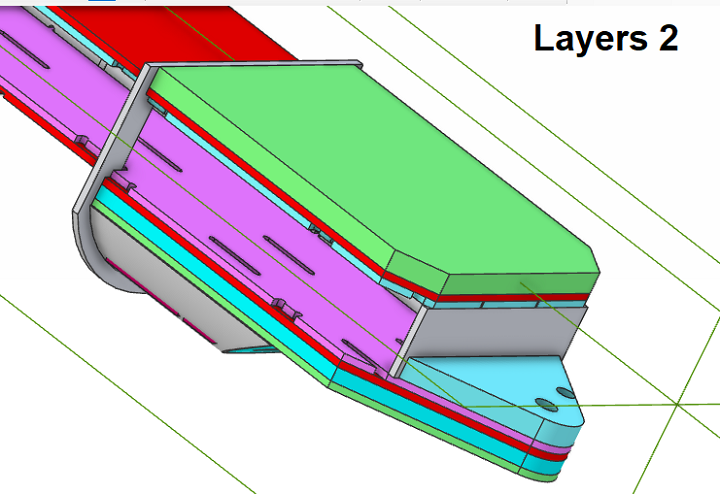
Here is how those notches create a recess for the
shoulder hub to fit into. Unfortunately,
the slots for the cross braces in the long risers are facing down so
you cannot assemble this way.
|
The
Main Outside Risers (left/right) have pockets that have to be on the
outside
|
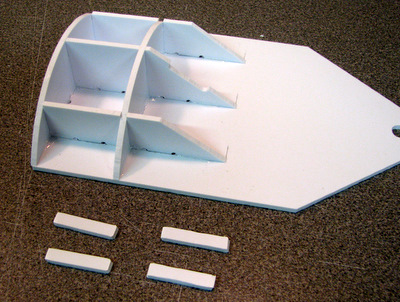
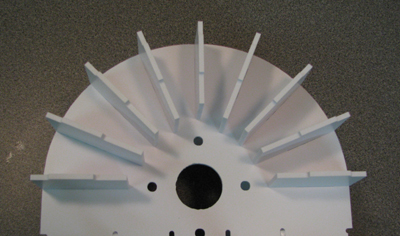
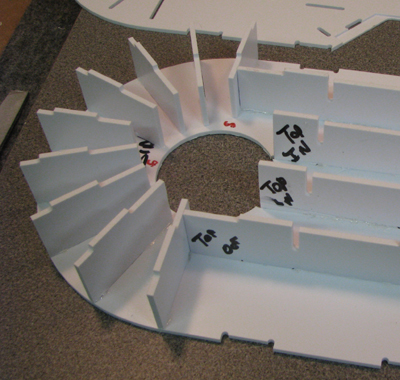
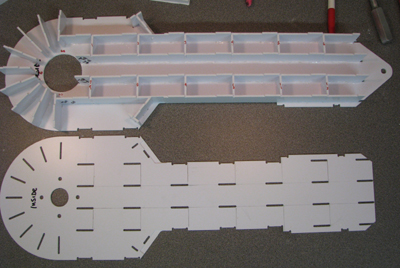
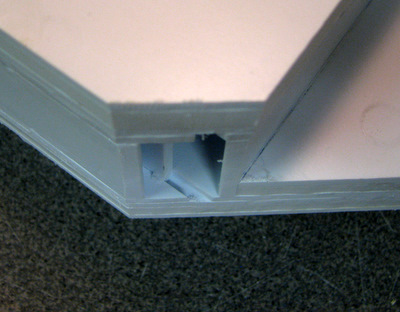
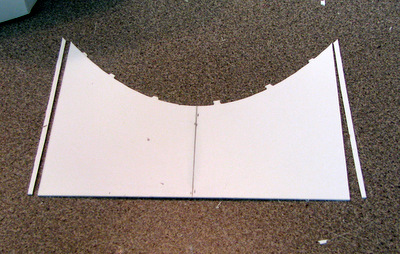
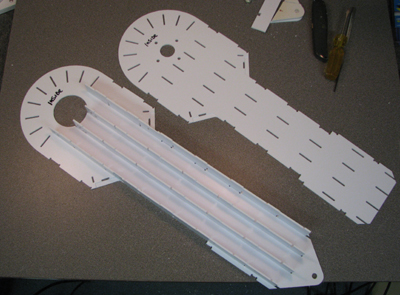
Above
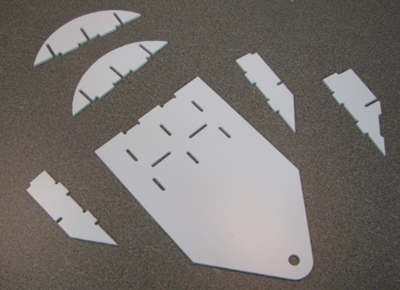
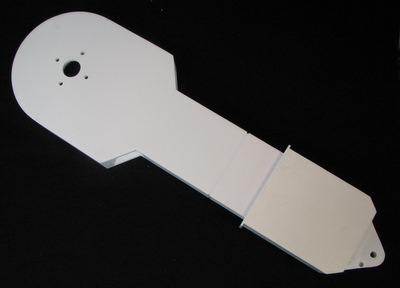
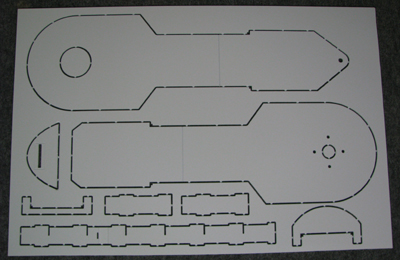
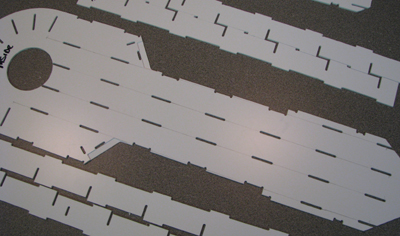
& Right: Begin your assembly on the top, inside,
inner layer of the legs. Pay attention to the location of
the cross brace slots and the notches on the risers.
|
|
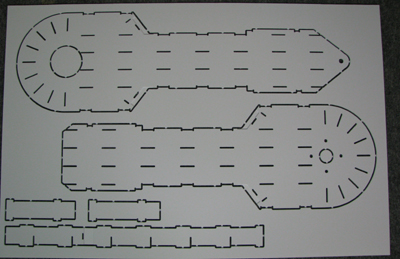
As a consequence of the notches, the
long inner risers and cross braces have been flipped over. the
instructions and pictures that follow were put together before the
change and as a result show the assembly being done on the top,
outside, inner layer (the longer layer that has the leg mounting bolt).
you still have to do the 'dry fit' process, but the sequence will have to be slightly different to accommodate the notch change.
|
|
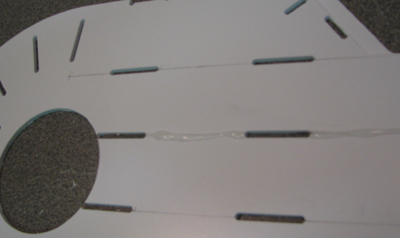
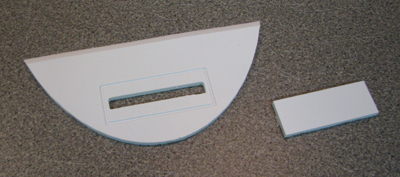
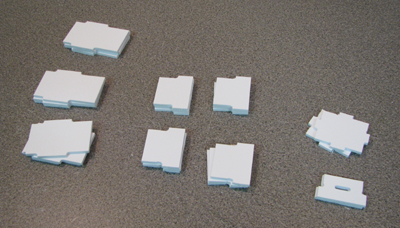
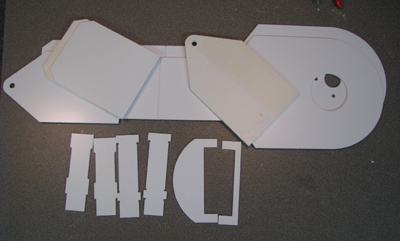
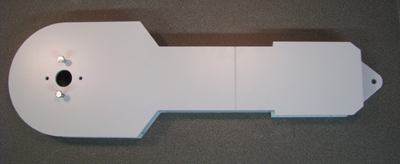
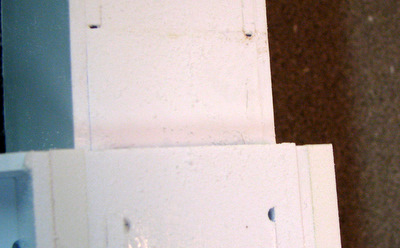
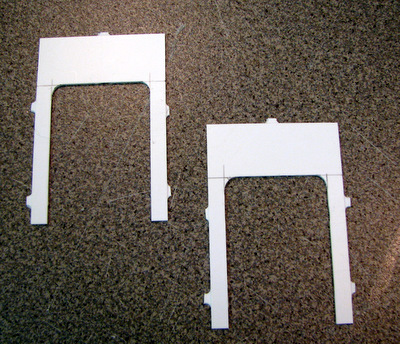
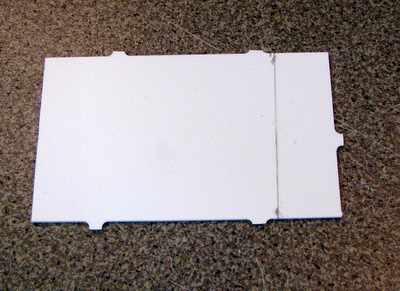
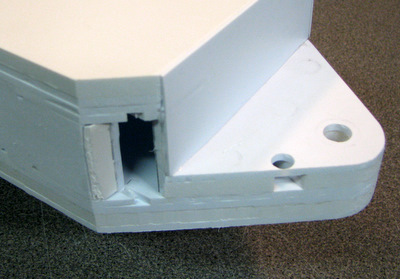
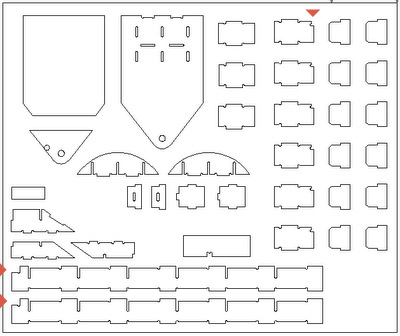
I've
added the wiring slot that Dave Everett included in his latest Leg
update. These parts are the same for both legs. Turn them over to swap
between left and right legs (see below) |

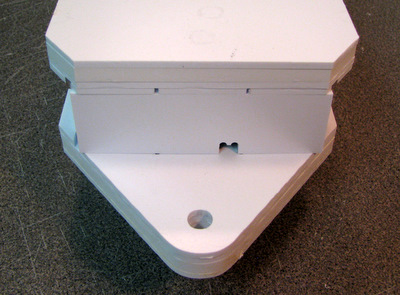
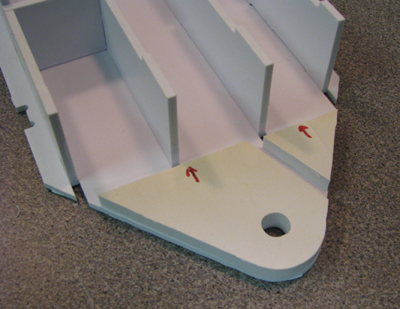
The Hole in the Leg Bottom Plug has to line up with
the wiring channel. |
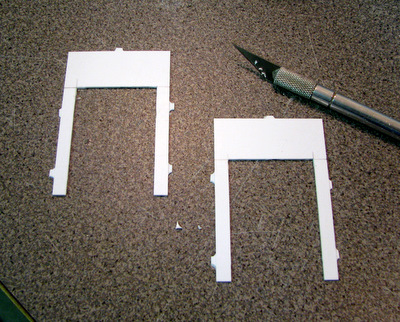
Turn all of those parts over when you assemble the
'other' leg. |
The final inner piece will cover the channel. |
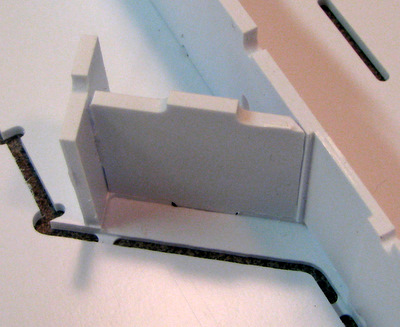
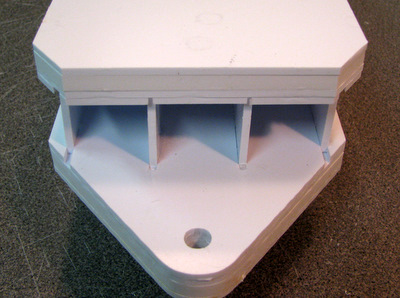
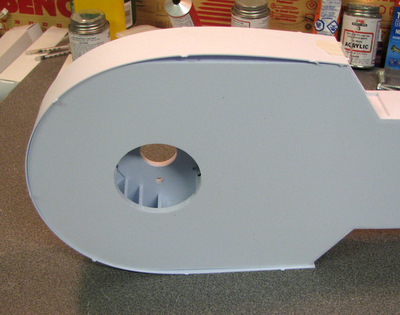
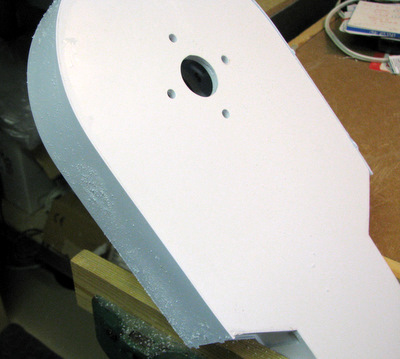
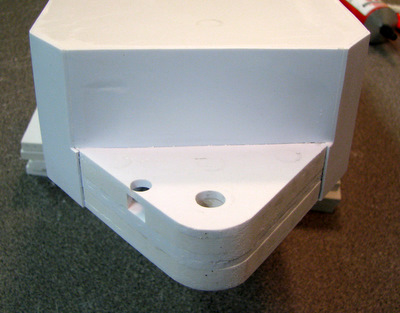
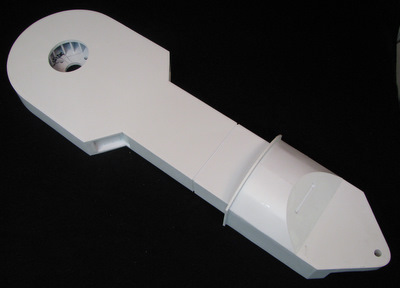
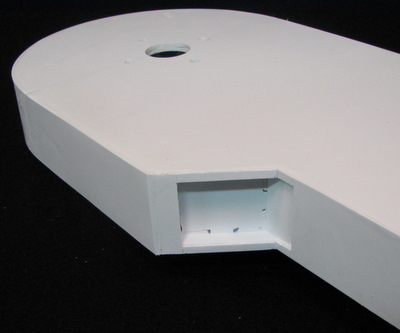
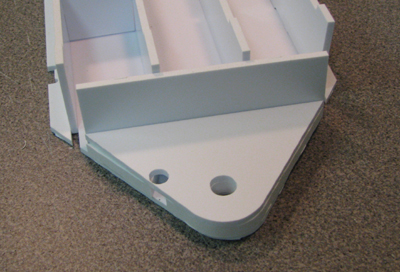
Inside view of Leg Bottom Plug. If you
haven't given any thought about your wiring for the foot drive, take a
moment to think about what wires you will need to thread threw that hole.
You may want to enlarge it. You can drill it out later if you need to.
wires will have to be threaded UP from the bottom of the leg.
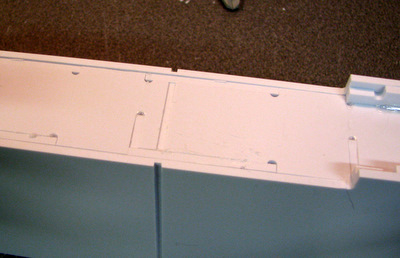
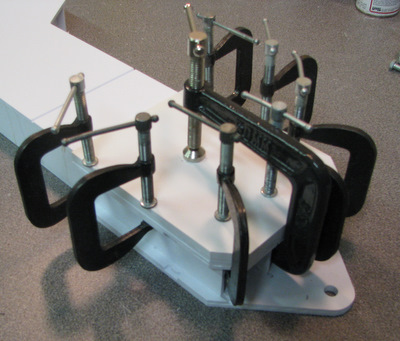
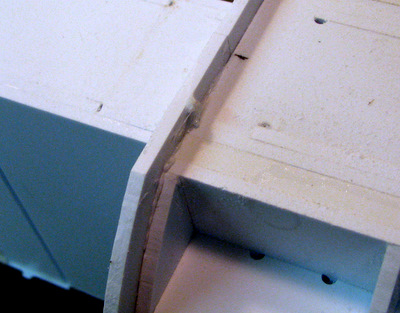
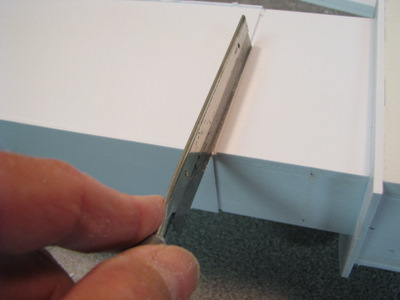
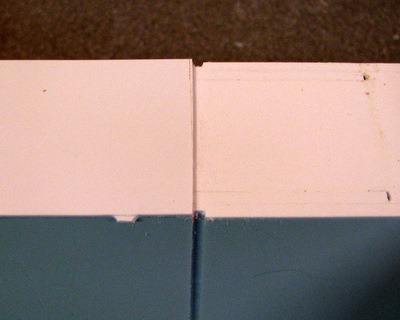
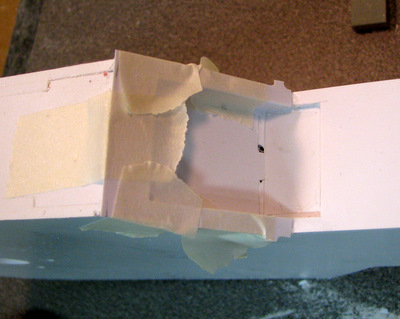
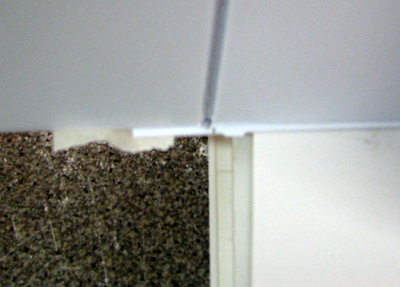
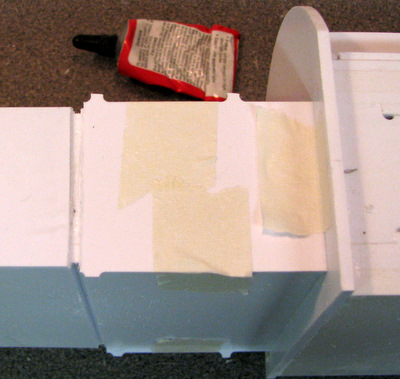
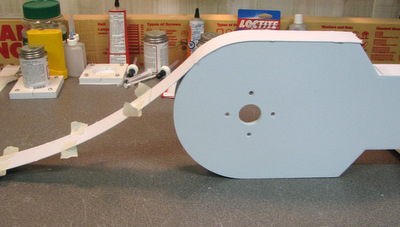
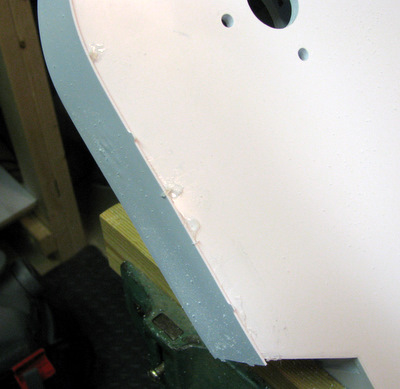
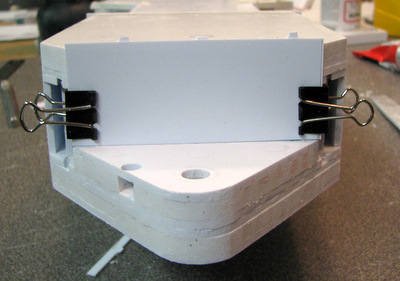
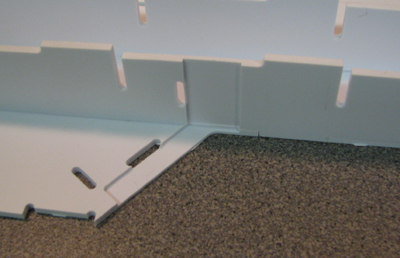
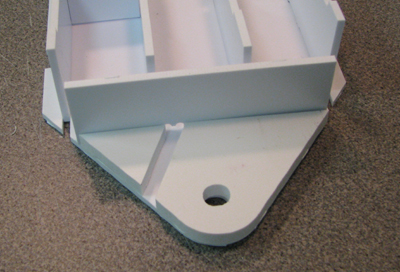
Left: It's important that the Leg Bottom Plug be tight
against the
end of the Main Inside Risers. Use a
3/8 Bolt to hold things in place while you test the fit. |
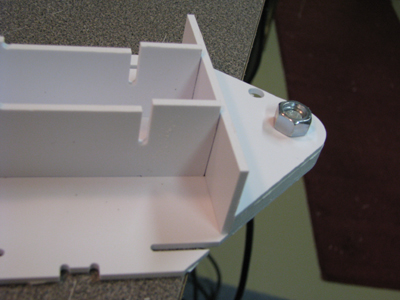
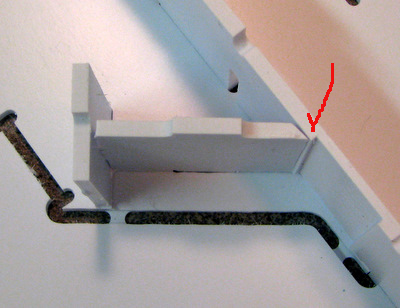
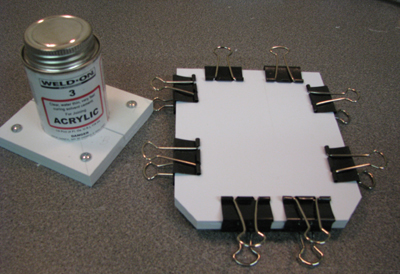
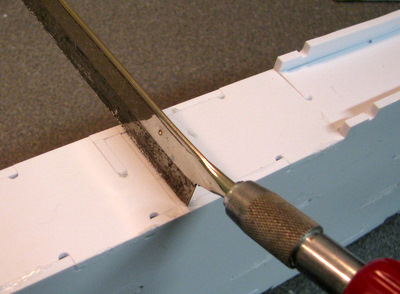
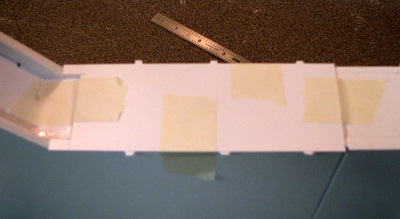
Make
a mark where the top/bottom edges should be so you can align to the
mark
when you glue. It's better to be too far down as you can file the edge
of the riser when you fit the bottom plug. If there's space you'll have
to shim it. |
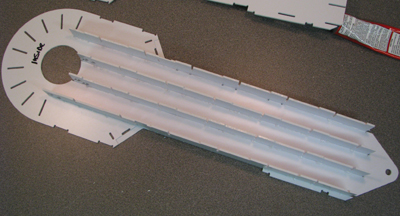
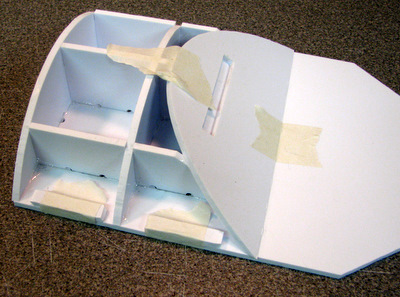
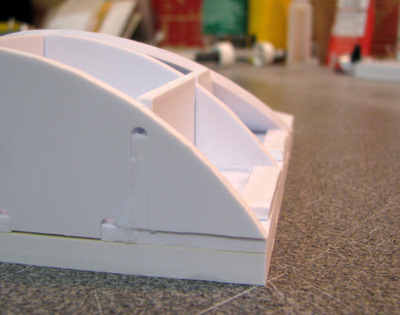
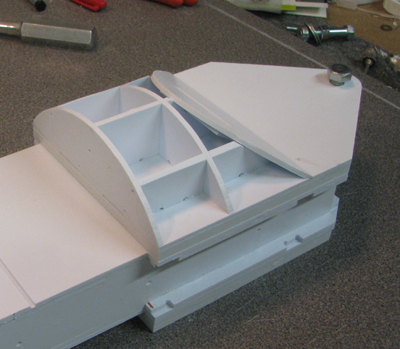
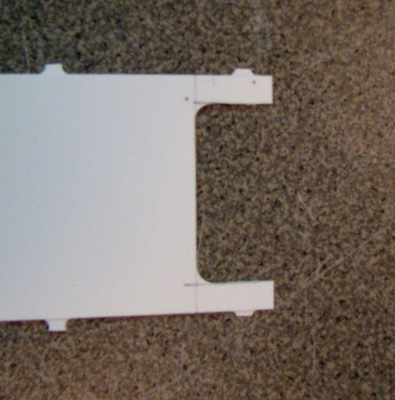
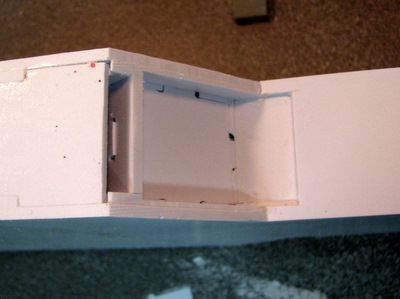
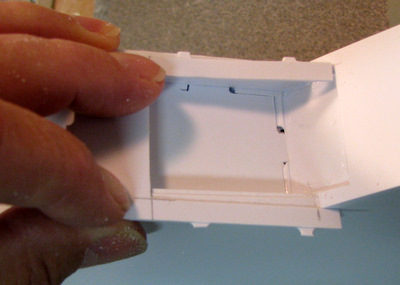
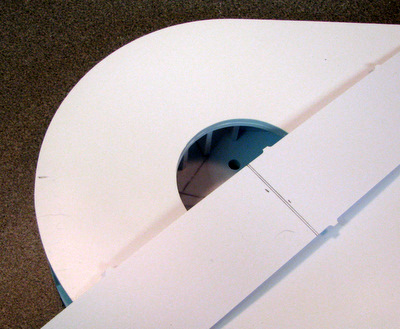
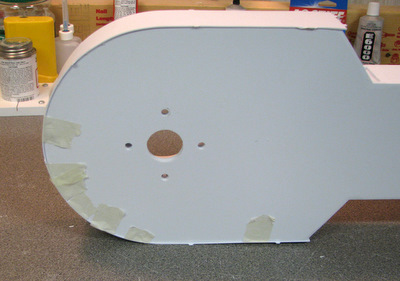
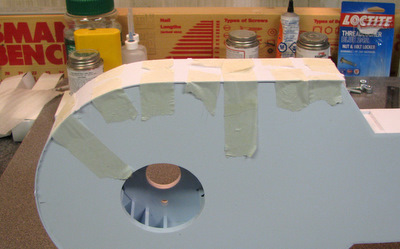
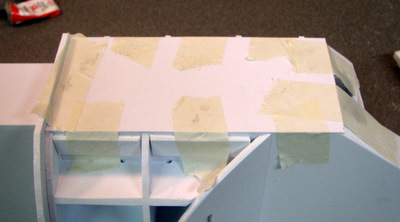
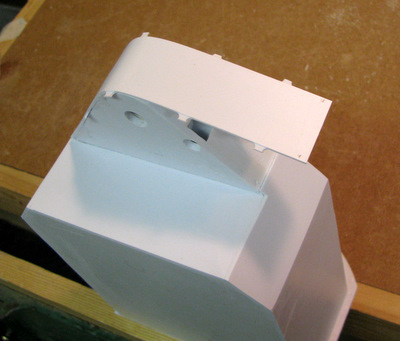
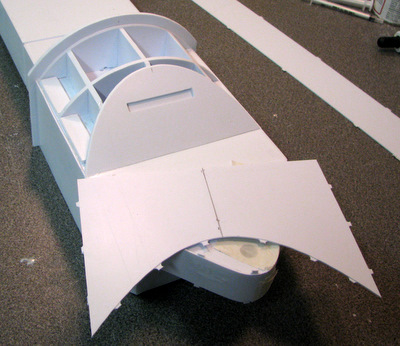
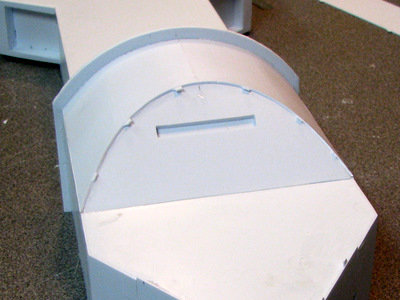
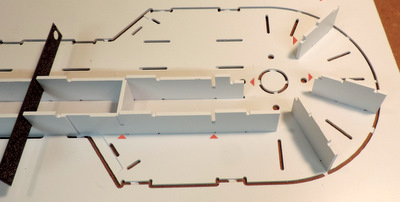
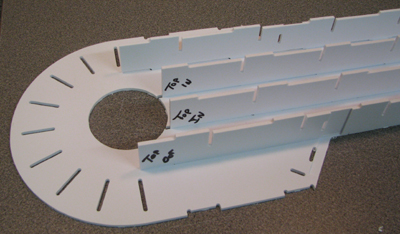
Time to dry fit the Leg Top Inside Inner piece.
Note the "inside" written in marker. That's so the Under
Shoulder Pockets wind up in the right places. |
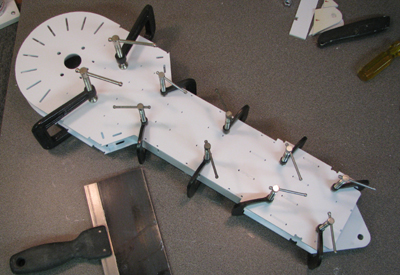
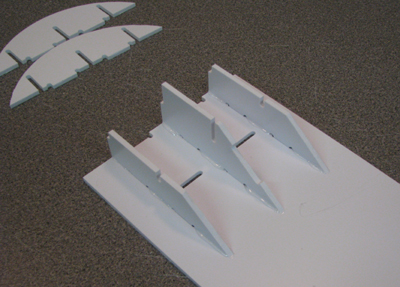
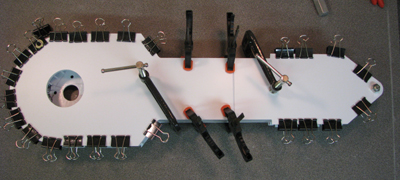
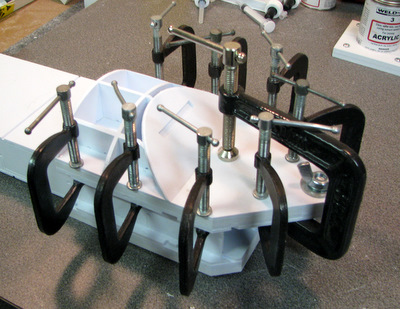
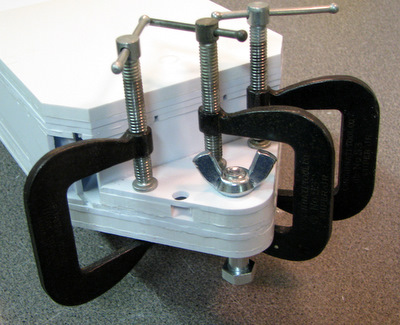
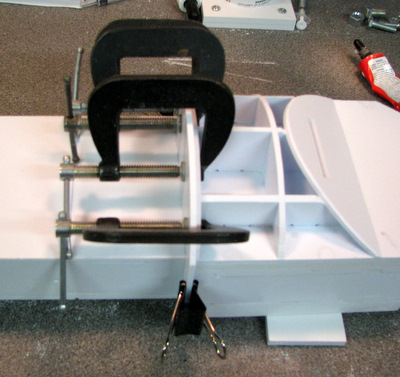
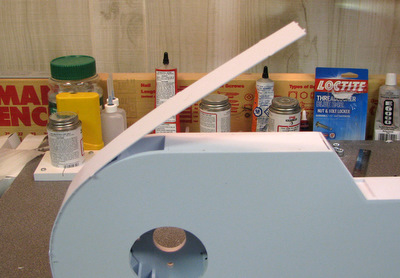
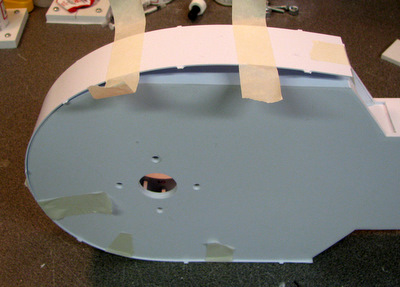
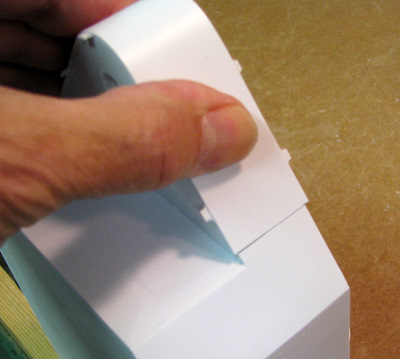
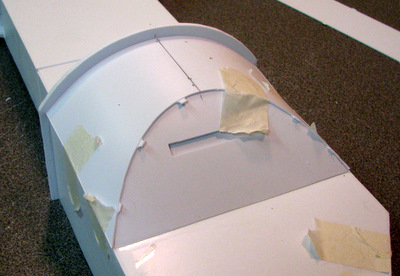
You should be able to get the ribs to align with the
slots relatively
quickly. You want to be able to clamp before the glue sets!
Try this a couple of times. It gets easier with practice. |
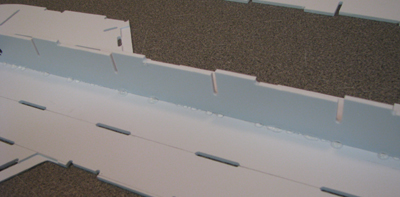
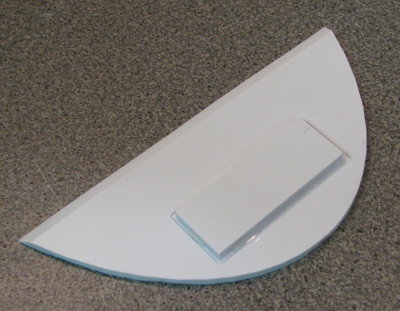
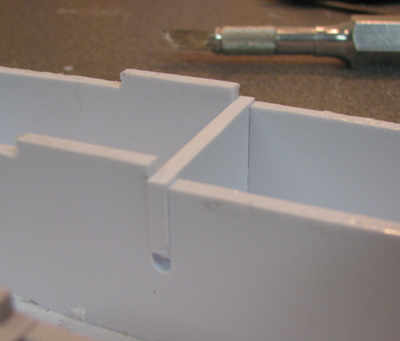
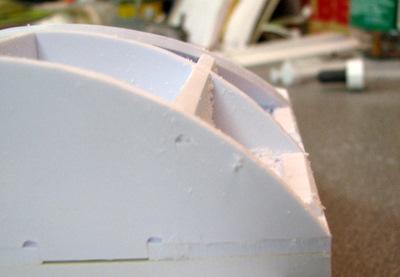
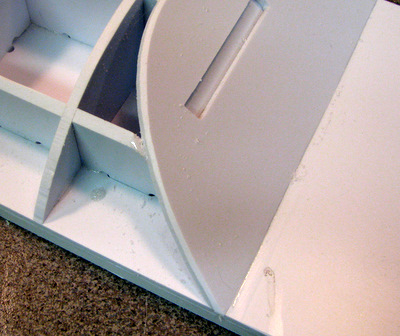
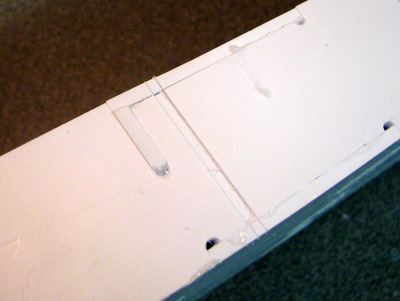
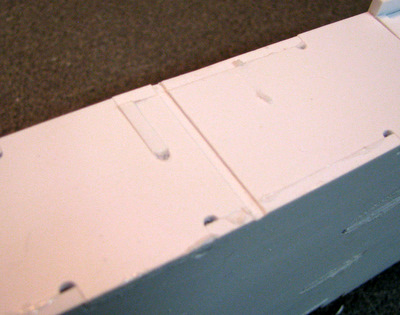
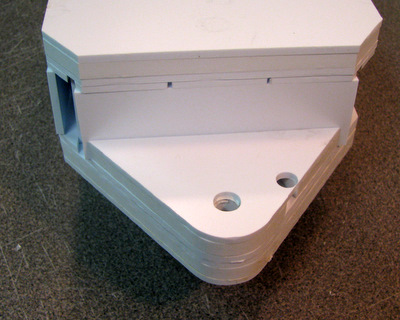
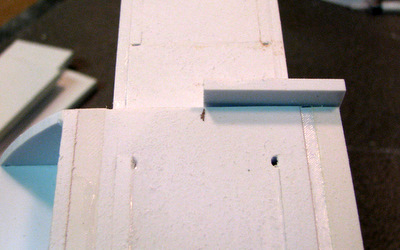
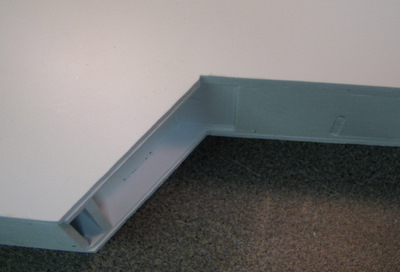
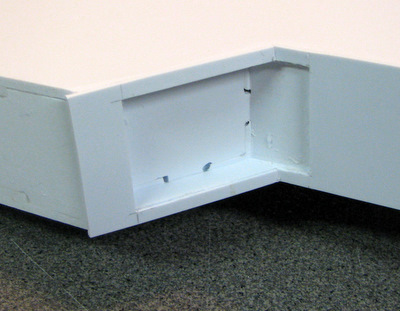
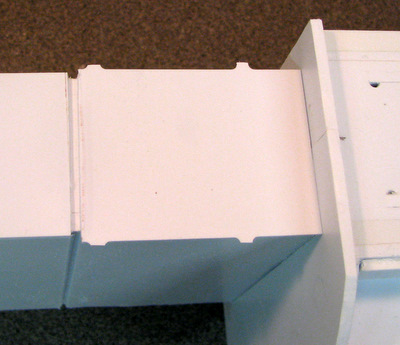
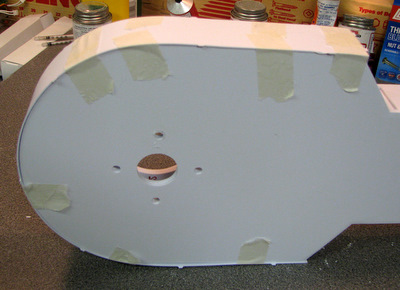
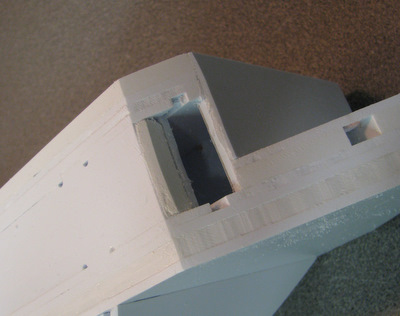
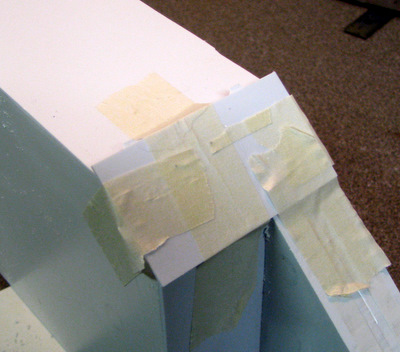
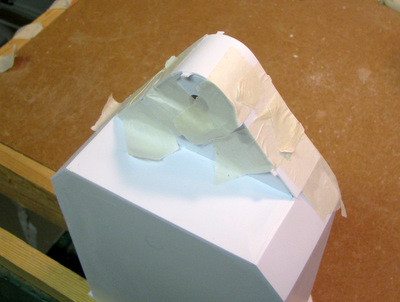
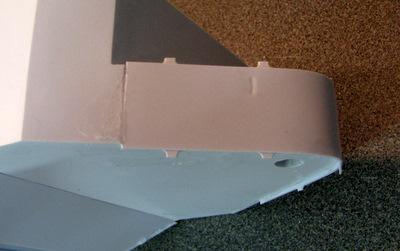
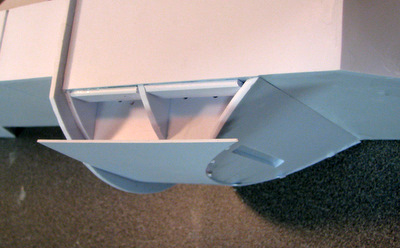
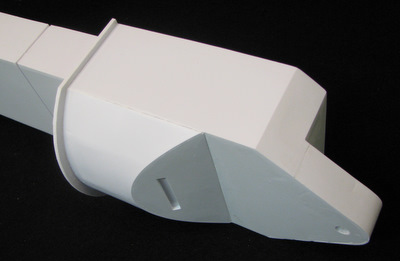
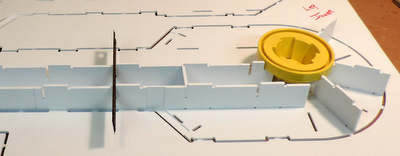
Here's what the Under Shoulder Pockets look like.
Note: the
slot on in the Main Riser has been removed. |
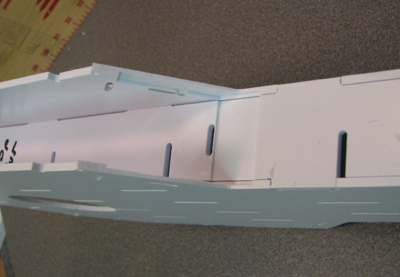
Both top and bottom need to be on the "inside"
|
|
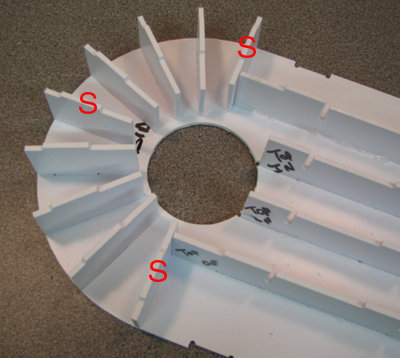
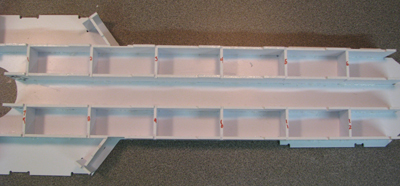
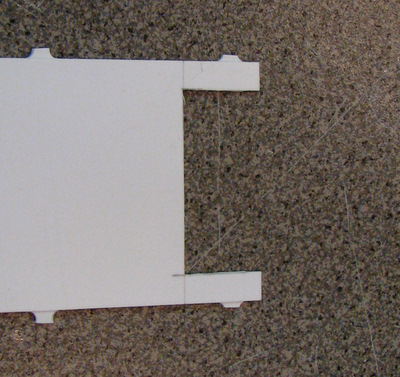
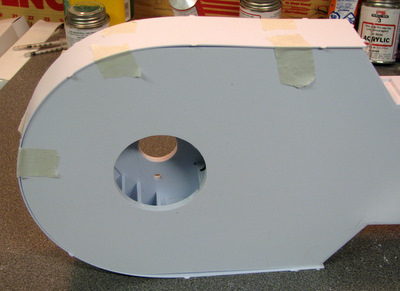
Critical Important
Alignment Issue
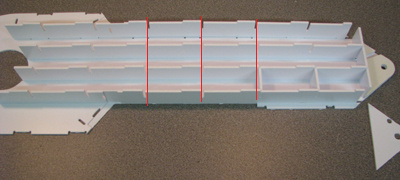 It is possible to insert the risers backwards!!!
Make sure all of the cross brace slots line up.
Make sure the under shoulder pockets are on the
outside.
I suggest using a marker to put in alignment marks.
It is possible to insert the risers backwards!!!
Make sure all of the cross brace slots line up.
Make sure the under shoulder pockets are on the
outside.
I suggest using a marker to put in alignment marks. |
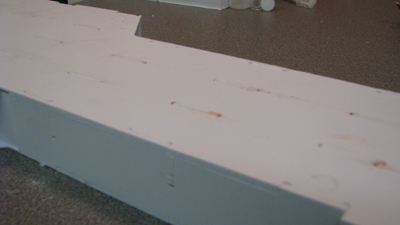
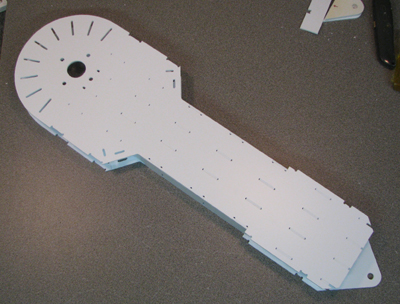
Notice anything wrong here?
Yup! I went and put my alignment marks on the WRONG
ENDS! - To make things even worse, I glued it up that
way! DON'T MAKE THIS
MISTAKE!!!
|
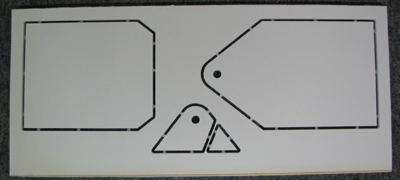


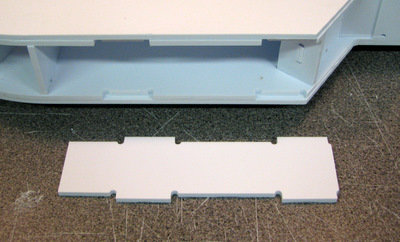
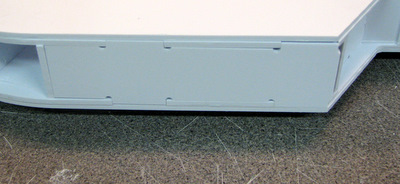
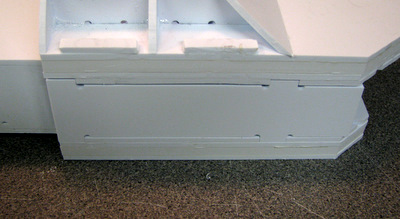
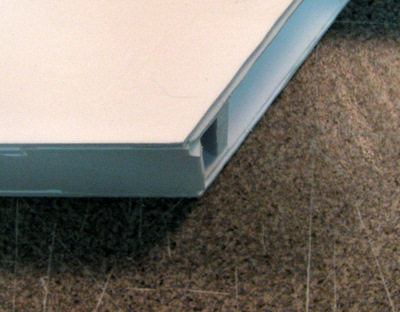
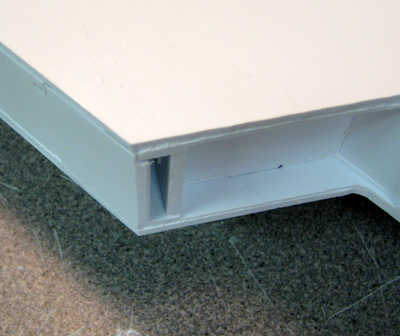
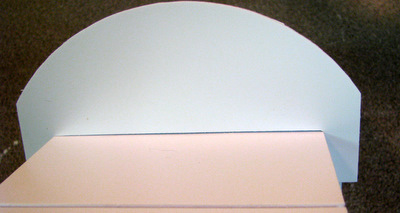
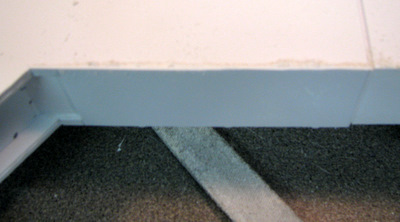
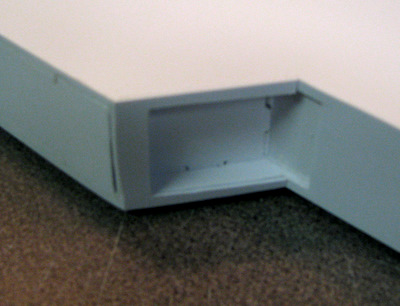
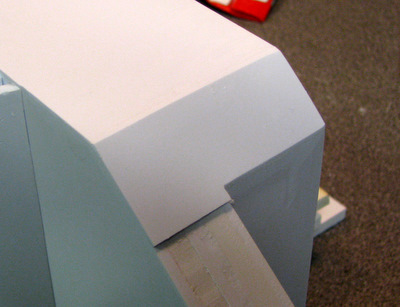
 There are edge
covers at top and bottom of the legs.
There are edge
covers at top and bottom of the legs.