When I designed my R2 Battery Boxes I 3D printed
the curved ends. It takes about 5.5 hours to print one curved end and
they are about 1/2 the height of Chopper's Battery Boxes.
When
I announced my intent to cut Chopper's parts from Extruded Acrylic
tubing, a number of folks warned me that it was difficult to machine.
While I don't disagree, it's both hard and brittle, but I've found it
manageable.
|
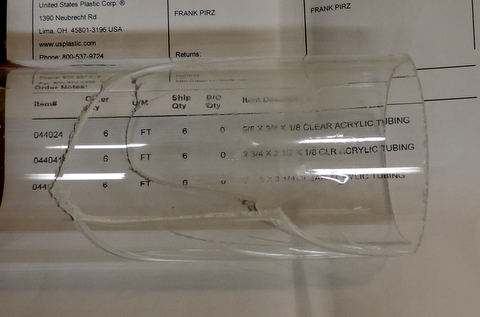
This is what happens when UPS drops the box!
|
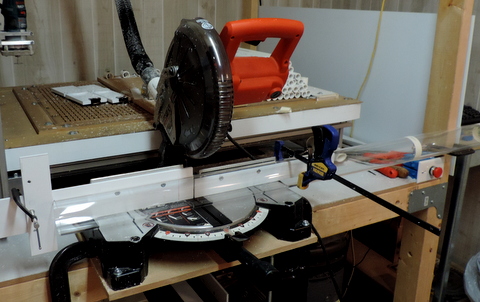
To cut the tubing I've extended the table on my chop saw and installed a plastics cutting blade. |
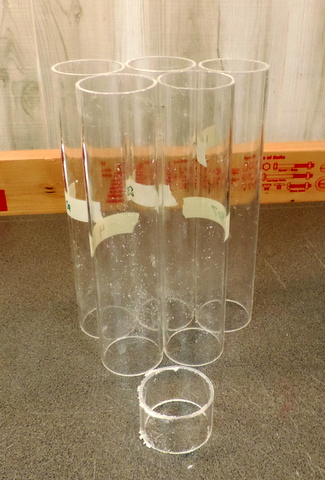 |
Left: After cleaning up the cut edges I've got a set of tubes to be slit lengthwise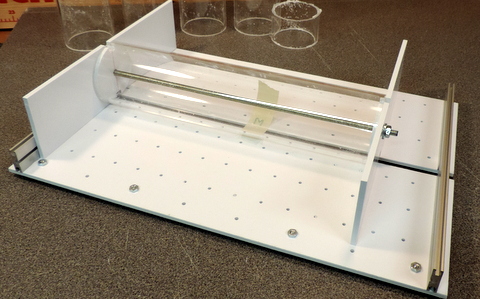
To
do the Slitting the tube is mounted into a fixture and then clamped
onto a sled. The fixture insures that when I turn the tube over the
second cut will line up with the first one. The sled keeps my
fingers away from the router bit! |
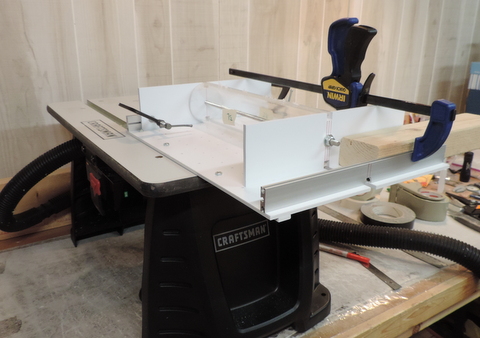
I've removed the rear guide from a this router bench and I'm using the guide channel in the front edge to line up the sled. | 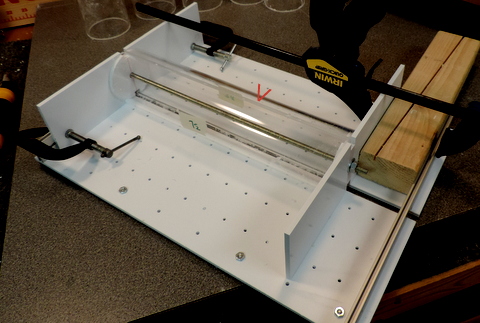
This
is the tube after turning over and making the second cut. It's hard to
see but there's a cut line where the V is pointing to above. |
 | Left: A pair of Half tubes ready to go into a Battery Box.
I'm using the same approach, with a modified fixture, to cut the curved 'trench' that I'm using in Chopper's Foot Drive. |