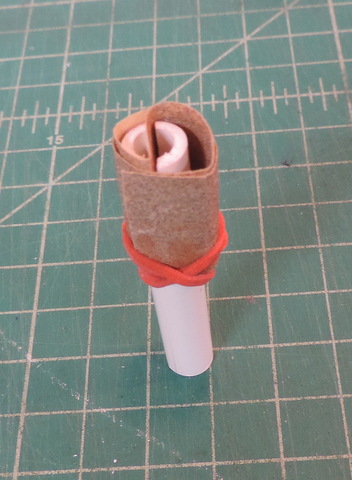
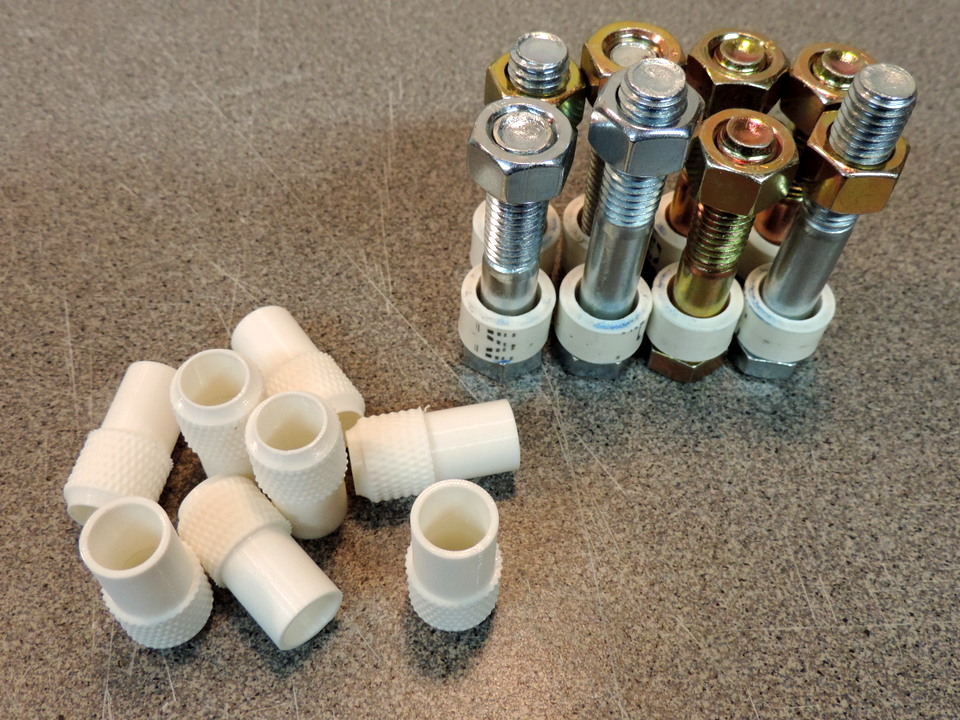
3D Printing the fitting is more difficult than it looks. With the knurl "up" the bottom edge of the knurl is unsupported at the transition between the tube and the knurl resulting in 'drooping'. Printing with the knurl "down" also fails. The top edge of the fitting is only .012 wide and it is not able to support the flared portion. I'm currently printing the part as two separate pieces that are then glued together. A rather simple solution to a difficult printing problem.
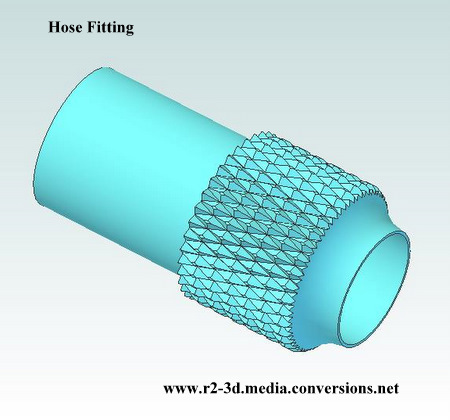
Click on the image to open a 3D .pdf version of the design.
Hose Fittings are only sold as complete assemblies
The 3D Printed Parts Price list is here.
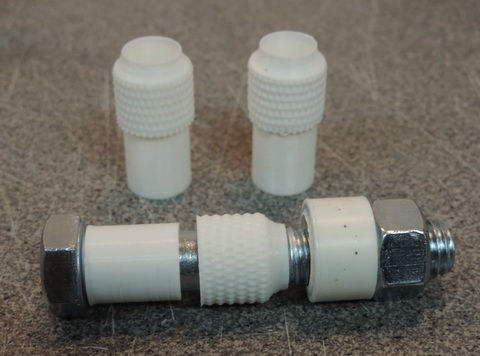
Above: I use a 1/2in bolt to hold the parts together while they are being glued. the oversize white spacer at the nut end keeps the nut from crushing the top edge of the fitting.
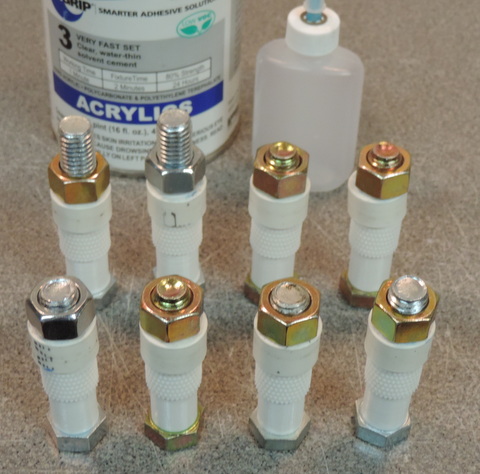
Right: I bought enough bolts to assemble a full set of 8 fittings at one time. A single drop of #3 solvent flows around the joint and is enough to glue the fitting.
A Note on Using These Hose Fittings
These fittings are not threaded. Threads on a 3D printed part are problematic at best. My suggestion is to glue these parts in place. A bead of your favorite cement on the inside of the Battery Box and the Foot Shell should hold them nicely. Since you might need to separate those components, secure the hoses that you use on the inside using a ty-wrap. If you need to separate things you can just cut the ty-wrap. If you are concerned about the hose slipping threw the ty-wrap just make a hole in the tubing and thread the ty-wrap threw the hole.
The hose fitting needs to accommodate a 1/2 in hose. (Which I'm hoping is actually 1/2 in!) In order for the wall thickness to be reasonable, the OD of the tube has to be .625 in. The resulting problem is that a .625 in tube won't fit into a .625 hole. As a consequence, I've changed the dimensions of both hole sets (the Battery Box end caps & the Outer Foot Shells) to be .645 - providing .02 clearance.
The other problem this causes is for the countless number of my customers who have parts with the wrong hole sizes. While I've never had any email to the effect that the holes are too small, I'm quite sure there were a number of unhappy builders!
There is, however, a solution.
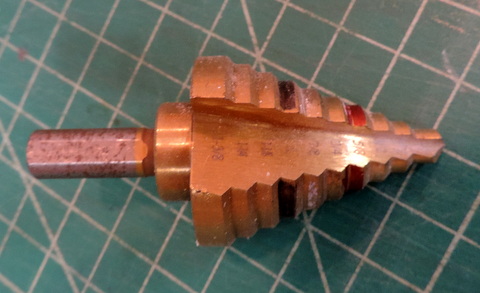
This is a Step Drill. It goes from 1/8in to 1 3/8in. They are available from most of the usual Hardware stores. I bought mine on eBay. Note the Magic Marker I used to highlight how deep I needed to go. [It's easy to get carried away :-( ]
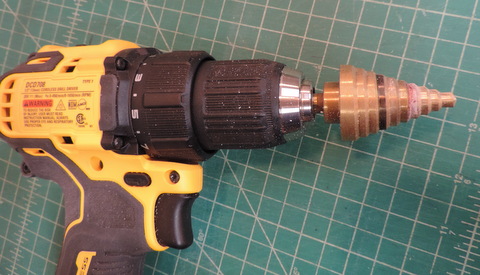
If your parts are assembled you can use a Hand Drill to enlarge the holes. Make sure you hold the drill perpendicular to the part or you can easily cut an oval hole.
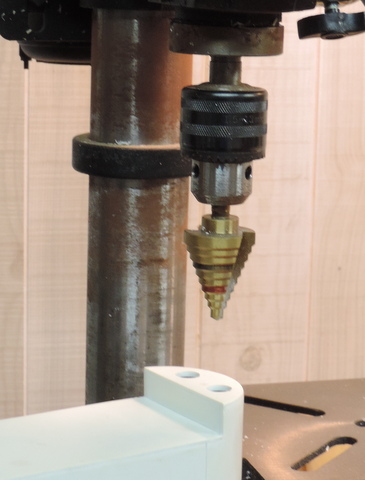
If at all possible use a drill press. You can also drill out the holes in the outer foot shell (use a hand drill, drill from both inside and outside of the shell)
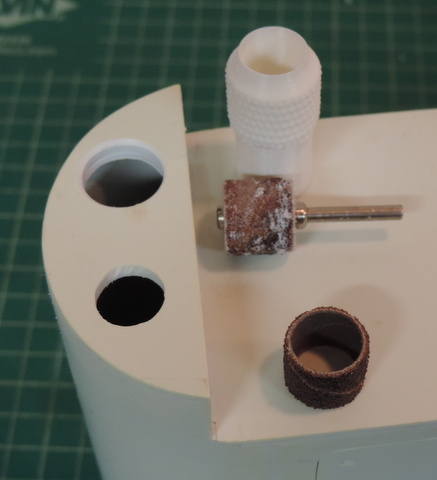
The styrene sheet is 1/8 in thick and the steps on the drill are also 1/8 in (It's designed to enlarge holes in sheet metal). As a result there will be a burr (edge) on the bottom of the hole. Use a sanding drum (Dremel shown) or a circular file to remove it.